The Ultimate Juicy Taco Meat Recipe: Better Than Store-Bought & Ready in Minutes
Table of Contents
Do you remember the specific smell of “Taco Tuesday” growing up? For most of us, it’s a core memory. The sound of ground beef sizzling in the skillet, the clinking of plates, and that distinct, savory aroma wafting through the house signaled one thing: it was time to eat.
But let’s be real for a second. How often have you chased that nostalgia, only to be disappointed by the result? You grab a pound of beef and that familiar yellow seasoning packet from the grocery store aisle. You cook it up, expecting magic, but you end up with dry, gray crumbles that taste mostly of salt and vague “spice.”
You deserve better than that. Your family deserves better than that.
Food is more than just fuel; it’s an emotional anchor. It’s how you show love after a long day. The good news? The secret to the restaurant-quality, drip-down-your-hand juiciness isn’t found in a packet. It’s likely already sitting in your spice cabinet.
You are about to master the ultimate taco meat recipe. We are ditching the preservatives and the dry texture for a filling that is rich, saucy, and deeply flavorful. This is the version that will make your kids ask for seconds and your friends beg for the recipe.
Why This Homemade Taco Meat Recipe Wins Every Time
You might be Thinking, “Is measuring out spices really worth the extra five minutes?” The answer is a resounding yes, and here is exactly why.
It’s About What You AREN’T Eating
Flip over a packet of store-bought taco seasoning. The first ingredient is rarely a spice. It’s usually corn flour, maltodextrin, or salt. You are essentially paying for cheap fillers and anti-caking agents designed to sit on a shelf for three years. When you make your own blend, you strip away the silicates and the artificial preservatives. You get pure flavor, no “mystery ingredients.”
You Control the Salt and Heat
One of the biggest complaints with packet seasoning is the salt bomb. It can be overwhelming. When you take the reins of your taco meat recipe, you become the chef. Does your family love heat? Heavy up on the cayenne. Are you watching your sodium intake? Cut the salt in half; you won’t even miss it because the cumin and chili powder are doing the heavy lifting.
The “Sauce” Factor
This is the game-changer. Packet directions usually have you add water, which steams the meat and then evaporates, leaving you with dry granules. This recipe uses a specific technique involving tomato sauce and a thickener to create a rich, velvety coating that clings to every piece of beef. It’s the difference between cafeteria food and a meal you’d actually pay for.
Essential Ingredients for Flavorful Taco Meat
To get that “better than takeout” flavor, the components matter. You don’t need fancy, expensive items, but you do need the right ones.
The Protein: Choosing Your Beef
The foundation of any great taco meat recipe is the beef itself. You will often see recipes calling for “lean” ground beef, like 90/10 or 96/4. While this is great for a strict diet, it’s a killer for taco flavor.
For the juiciest results, you want 80/20 or 85/15 ground beef. Here is the logic: Fat is flavor, but more importantly, fat is moisture. When you use ultra-lean beef, you have to work twice as hard to keep it from turning into flavored gravel. With 80/20, you cook it, render that fat out, and then drain most of it. You get the benefit of cooking in the fat (which tenderizes the meat) without actually consuming all of the grease.
Can you use turkey or chicken? Absolutely. If you prefer ground turkey, the method remains the same. However, because poultry is naturally leaner, you might want to add a splash of olive oil to the pan to mimic the richness of beef.
The Homemade Taco Seasoning Blend
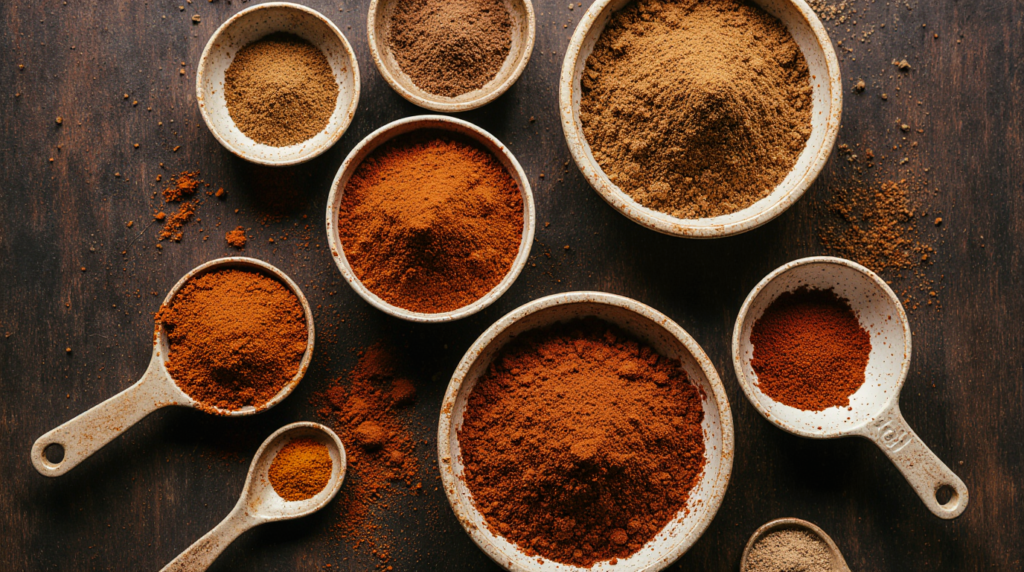
This blend is the heart of the dish. It mimics the classic flavor profile we all know but elevates it with freshness.
The Spice Breakdown:
| Ingredient | Quantity | Purpose |
| Chili Powder | 1 tbsp | This is your base. American chili powder is actually a blend of chilies, oregano, and garlic, providing a solid foundation. |
| Ground Cumin | 1 tsp | The heavy lifter. This gives tacos that distinct, earthy, “warm” aroma that instantly triggers hunger. |
| Garlic Powder | 1 tsp | Provides savory depth. Unlike fresh garlic, it won’t burn during the browning process. |
| Onion Powder | 1 tsp | Adds a subtle sweetness and savory background note. |
| Dried Oregano | 1/2 tsp | If you can find Mexican Oregano, use it. It has a citrusy bright note that cuts through the fat. |
| Smoked Paprika | 1/2 tsp | Optional, but highly recommended. It adds a hint of fire-roasted flavor. |
| Salt & Pepper | To taste | Start with 1 tsp salt and 1/2 tsp pepper, then adjust at the end. |
| Cornstarch | 1 tsp | The Secret Weapon. This thickens your liquid into a glaze rather than a watery soup. |
Export to Sheets
The Secret Liquid Element
Many recipes tell you to just add water. Don’t do that. Water dilutes flavor.
Instead, we use Tomato Sauce (canned tomato sauce, not ketchup) or a rich Beef Broth. The acidity of the tomato sauce tenderizes the meat fibers while adding a layer of umami that water just can’t provide. If you don’t have tomato sauce, beef broth is a fantastic second choice.
Step-by-Step: How to Make the Best Taco Meat
Ready to cook? Follow this flow to ensure perfect texture every time.
1. The Sear (Maillard Reaction)
Place a large skillet over medium-high heat. Once the pan is hot, add your ground beef. Crucial Tip: Don’t start hacking at the meat immediately. Let it sit undisturbed for about 60 seconds. You want to achieve a nice brown sear on the bottom layer. That browning is the Maillard reaction, and it equals deep, savory flavor. Once you have some color, use a wooden spoon or meat chopper to break it into crumbles.
2. The Drain
Cook until the beef is fully browned and no pink remains. You will likely see a pool of grease at the bottom of the pan. Carefully drain this fat. Don’t drain it all. Leave about one tablespoon of the rendered fat in the pan. This little bit of fat helps “bloom” the spices in the next step.
3. Bloom the Spices
Most people add the water, then the spices. You are going to do the opposite. Sprinkle your homemade seasoning blend (including the cornstarch) directly over the browned meat. Stir it constantly for about 1 minute. Why? Spices are oil-soluble. Frying them briefly in that remaining tablespoon of fat wakes up the essential oils in the cumin and chili powder, making them significantly more potent and aromatic than if you just boiled them in water.
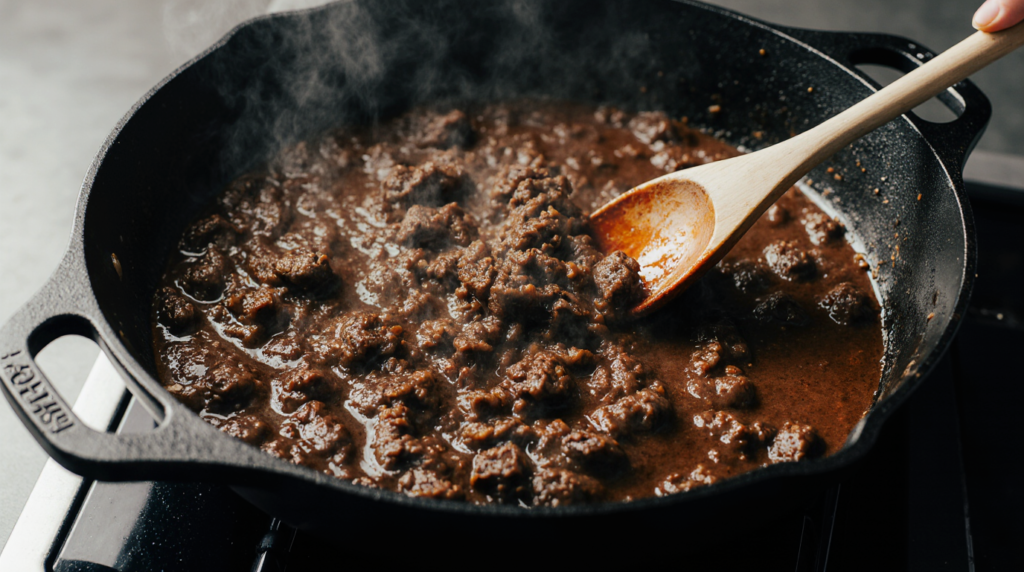
4. Create the Sauce
Now, pour in your liquid—either 2/3 cup of tomato sauce or beef broth. You can also do a mix of water and tomato paste if that is what you have on hand. Stir well to combine. You will notice the liquid starts to thicken almost immediately thanks to the cornstarch.
5. The Simmer
Turn the heat down to low. Let the mixture simmer gently for 3 to 5 minutes. You aren’t trying to cook the meat (it’s already done); you are trying to let the sauce reduce and coat every single crumble. When the liquid has transformed into a thick, glossy gravy that clings to the beef, you are done.
Expert Tips for the Juiciest Taco Meat
Even with a simple recipe, technique is everything. Here are a few pro-tips to ensure you nail this taco meat recipe every single time.
- The “Rest” Period: Just like a steak, ground meat benefits from resting. Once you pull the pan off the heat, let it sit for 2 or 3 minutes before serving. This allows the juices to redistribute so they don’t run out the moment you bite into your taco.
- The Cornstarch Slurry Hack: If you forgot to add the cornstarch with the spices, don’t throw it in the simmering liquid—it will clump. Mix the cornstarch with a tablespoon of cold water in a separate cup, then pour that mixture into the pan.
- Fixing Dry Meat: Did you accidentally overcook the beef before adding the sauce? It happens. Stir in a tablespoon of olive oil or butter at the very end to reintroduce some silky mouthfeel.
Serving Suggestions for Your Taco Meat Recipe
While the classic hard shell is the nostalgia king, this meat is versatile enough to carry several different meals.
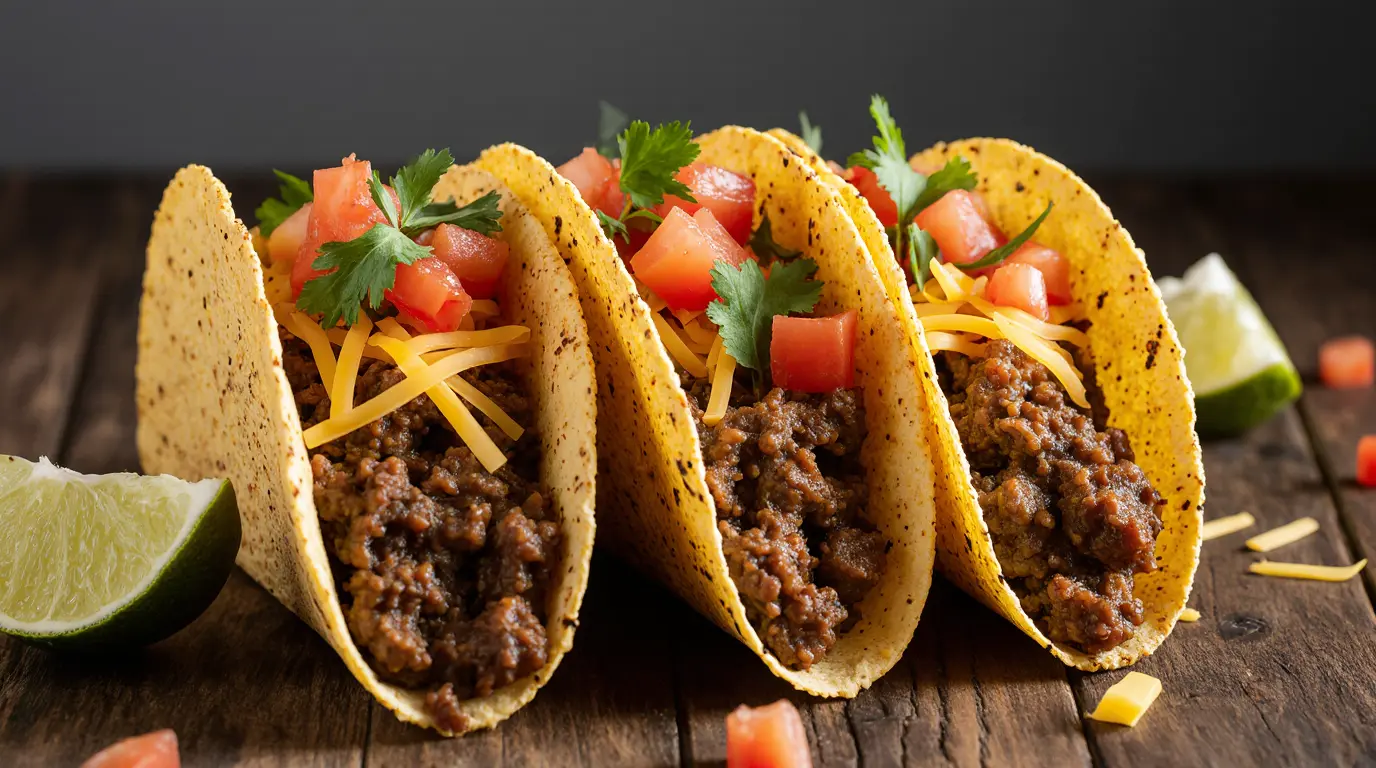
Classic “Gringo” Tacos Grab the hard yellow corn shells. Heat them in the oven for 5 minutes to crisp them up (stale shells are chewy). Layer the meat, then shredded cheddar, then lettuce. It’s a classic for a reason.
Soft Taco Supreme Use flour tortillas. Warm them in a dry skillet until they puff slightly. Load them with meat, sour cream, diced tomatoes, and a splash of hot sauce.
Taco Salad Bowls If you are cutting carbs, this meat is the perfect salad topper. Because it is so saucy, it acts almost like a dressing. Pile it over romaine lettuce, black beans, corn, and avocado.
Loaded Nachos Got leftovers? This is the best use for them. Spread tortilla chips on a baking sheet, top with the cold taco meat (it will heat up in the oven) and cheese. Broil until bubbly.
The Topping Game
Don’t sleep on the toppings. They provide the texture contrast this dish needs.
- Acid: A squeeze of fresh lime juice or pickled jalapeños cuts through the rich, salty fat of the beef.
- Cream: Sour cream is standard, but try Greek yogurt for a healthier tang, or perfectly ripe avocado.
- Freshness: Fresh cilantro and diced white onion (street taco style) change the flavor profile completely.
FAQ: Common Questions About This Taco Meat Recipe
Can I freeze cooked taco meat?
Yes, and you should! This is one of the best meal-prep proteins out there. Let the meat cool completely, then spoon it into freezer-safe bags. Press the air out and lay them flat. They will last for up to 3 months. To reheat, just toss the frozen block into a skillet with a splash of water and cover it until warmed through.
How do I make this recipe spicy?
The base recipe provided above is mild-to-medium, suitable for kids. If you want to sweat, add 1/2 teaspoon of Cayenne pepper or red pepper flakes to the spice mix. For a smoky heat, add a chopped Chipotle pepper in adobo sauce during the simmering step.
Can I use this taco meat recipe for enchiladas?
Absolutely. In fact, it works better for enchiladas than dry beef does. The saucy consistency ensures your enchiladas stay moist inside the tortilla while they bake.
What if I don’t have all the spices?
Don’t panic. If you are missing one or two (like onion powder or paprika), the recipe will still work. The non-negotiables are Chili Powder, Cumin, and Salt. As long as you have those three, you are in business.
Conclusion
Making food from scratch doesn’t have to feel like a chore. It doesn’t have to be complicated. It just needs to be done with a little intention.
When you take that first bite of this homemade taco meat, you are going to notice the difference immediately. It’s the texture—velvety and moist, not dry and gritty. It’s the flavor—warm and complex, not just “salty.” But mostly, it’s the satisfaction of knowing exactly what is feeding your family.
So, tonight, leave the yellow packet on the grocery store shelf. Grab your skillet, bloom those spices, and reclaim Taco Tuesday.
Are you ready to make the best tacos of your life? Try this recipe tonight and let us know in the comments: do you prefer hard shells or soft tortillas?